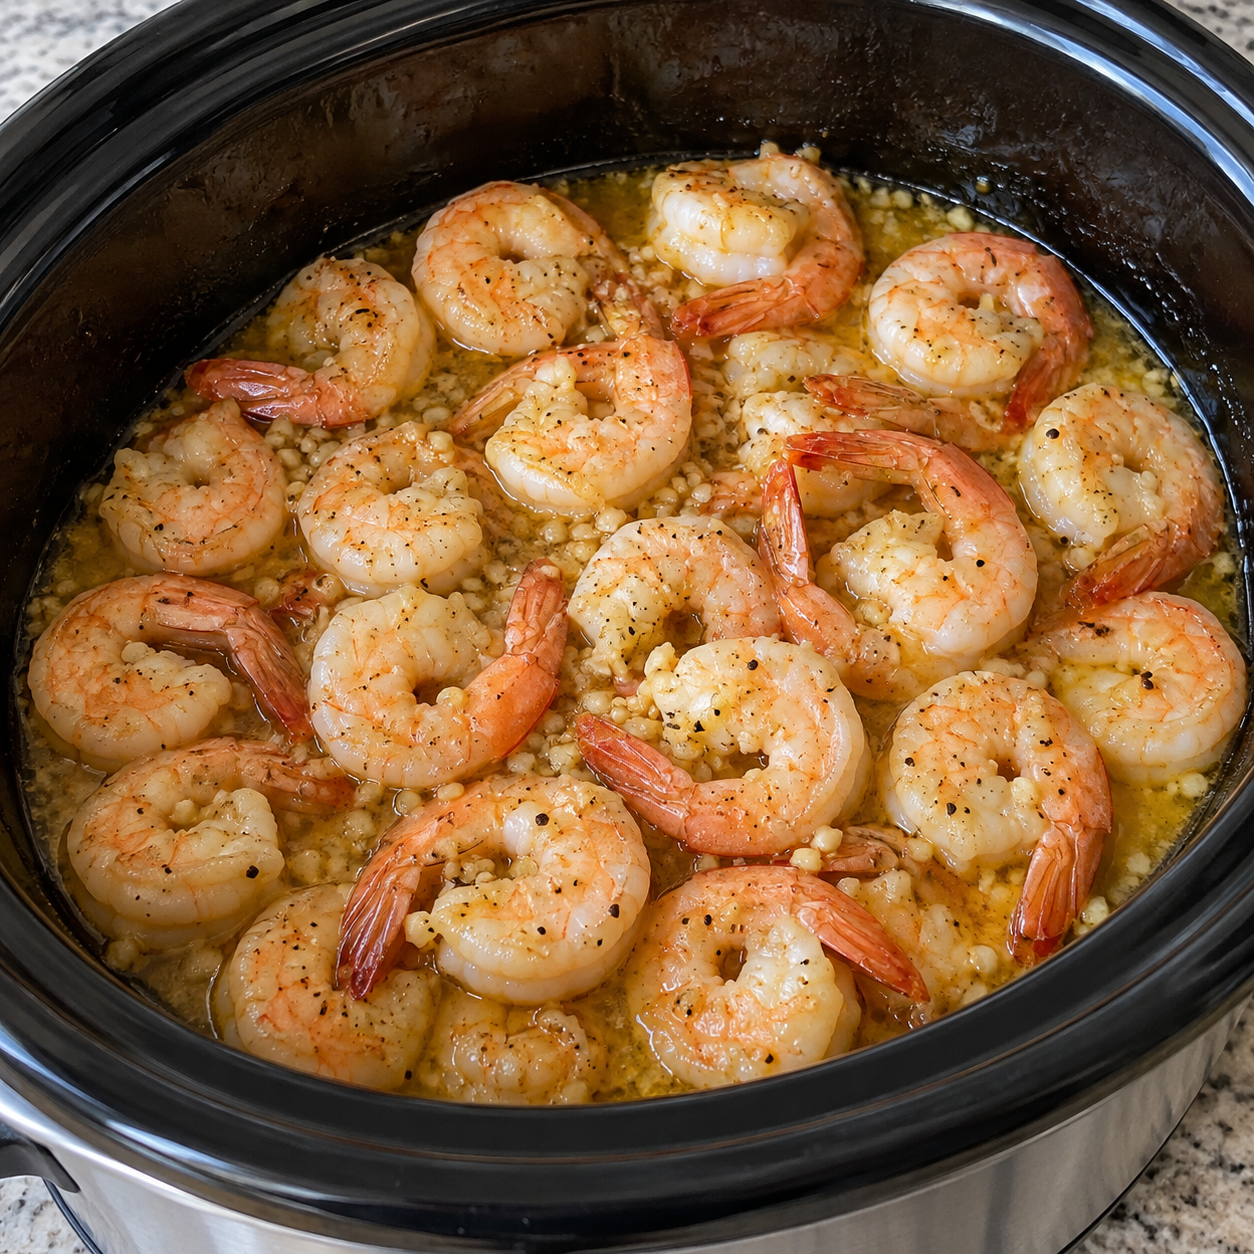
Juicy shrimp, melted butter, fresh garlic, and a squeeze of lemon make this easy Crockpot garlic butter shrimp a simple seafood dinner with plenty of flavor. The sauce lightly coats the shrimp, giving you buttery, garlicky goodness in every bite.
The preparation is straightforward, but shrimp need a shorter cooking time than most slow cooker meals. Keep an eye on them toward the end, and serve as soon as they are ready for the best texture.
Prep time: 10 minutes, plus thawing
Cook time: Approximately 1–2 hours on LOW; appliances vary
Servings: 4
Equipment: A slow cooker sized appropriately for the ingredients, following its manufacturer’s fill guidance
Ingredients
- 2 pounds large raw shrimp, peeled, deveined, and fully thawed
- ½ cup unsalted butter, melted
- 4 garlic cloves, finely minced
- 2 tablespoons fresh lemon juice, divided
- ½ teaspoon salt, or to taste
- ¼ teaspoon black pepper
Choose raw shrimp rather than precooked shrimp. Precooked shrimp only need reheating and can become tough when cooked again for an extended period.
Large shrimp are easier to monitor than very small shrimp. Look for a bag labeled approximately 21–30 shrimp per pound, and try to use shrimp of a similar size so they finish cooking more evenly.
You can leave the tails on for presentation or remove them before cooking for easier eating. If using salted butter, reduce the added salt and adjust the finished sauce to taste.

How to Make Crockpot Garlic Butter Shrimp
1. Thaw and drain the shrimp
If starting with frozen shrimp, thaw them overnight in the refrigerator. For a faster option, place them in a sealed, leakproof bag and submerge it in cold water, changing the water every 30 minutes. Cook immediately after cold-water thawing.
Drain the shrimp well and gently pat them dry with paper towels. Removing excess surface water helps prevent the butter sauce from becoming unnecessarily diluted. Keep the shrimp refrigerated until you are ready to assemble the recipe. Food Safety and Inspection Service
2. Mix the garlic butter
In a small bowl, combine the melted butter, minced garlic, 1 tablespoon of the lemon juice, salt, and black pepper.
Stir thoroughly so the garlic is distributed throughout the butter. Finely minced garlic works well here because large pieces can taste sharp, especially with the relatively short cooking time.
Reserve the remaining tablespoon of lemon juice for the end. Adding some lemon after cooking gives the sauce a fresher flavor and lets you adjust the brightness before serving.
3. Add everything to the slow cooker
Arrange the thawed shrimp in the slow cooker, spreading them out rather than leaving them in a tightly packed mound. Pour the garlic butter mixture over the top.
Gently toss until the shrimp are evenly coated, then spread them back into an even layer. Some overlap is fine, but avoid packing a large quantity into a small cooker.
Cover with the lid and turn the slow cooker to LOW. Start cooking immediately after assembling the ingredients.
4. Cook gently and check early
Allow approximately 1–2 hours on LOW, beginning to check around the 45-minute mark. Treat this as an estimated window rather than a guaranteed finish time: shrimp size, ingredient temperature, and the slow cooker’s heating pattern all affect the result.
During the first check, gently turn the shrimp so those near the edges and center exchange positions. Replace the lid promptly if they need more time.
The shrimp should become firm, pearly, and opaque throughout. Use a thin-tip thermometer where practical, aiming for 145°F in the thickest part. Check several shrimp from different areas rather than judging the entire batch by one piece. FDA
Once they are cooked, stop cooking. Leaving shrimp in the cooker for additional hours will not make them more tender.
5. Finish the sauce
Turn off the slow cooker. Add the reserved lemon juice a little at a time, gently tossing and tasting the sauce before adding more.
The finished sauce should be buttery and pourable. It will naturally contain some juices released by the shrimp, so expect a light garlic butter sauce rather than a thick cream sauce.
Taste before adding extra salt. Spoon the sauce from the bottom of the cooker over the shrimp so each portion gets both garlic and butter.
6. Serve immediately
Transfer the shrimp to a serving dish or divide them between plates. Spoon over the warm sauce and serve promptly.
This recipe makes garlic butter shrimp on its own. If you want a larger meal, separately prepared rice, pasta, or bread can be served alongside it. Those are optional serving choices and are not included in the ingredients or cooking time above.
Tips for Tender Shrimp
The most important step is stopping the cooking as soon as the shrimp are done. Avoid leaving the finished dish on the WARM setting for an extended period, since continued heat can make the shrimp firm and chewy.
Keep the lid closed between checks. Repeatedly lifting it releases heat and makes the cooking time harder to predict.
If your sauce looks thinner than expected, serve the shrimp with a slotted spoon and spoon a smaller amount of sauce over each portion. Avoid cooking the shrimp longer just to reduce the liquid.
Refrigerate leftovers in shallow, covered containers within two hours. When reheating, heat only the portion you need and bring it to 165°F. Gentle reheating helps limit further toughening, although freshly cooked shrimp will have the best texture. FDA
A Simple Garlic Butter Seafood Dinner
This Crockpot garlic butter shrimp keeps the ingredient list short and the preparation easy. Thaw and drain the shrimp, coat them in garlic butter, and monitor them closely as they cook. Finish with lemon and serve while warm for a satisfying seafood dinner without a complicated sauce.